
5 Tips for Capturing the Magic of the Ocean with Wave Photography
Introduction to Wave Photography: Capturing the Ocean's Beauty
Wave photography goes beyond just taking a picture; it's about capturing the ocean’s soul. Picture this: the sun peeking over the horizon, golden light spilling across the water's surface, and waves crashing with raw energy. That's the magic you want to freeze in time. Starting out, you need to know a few basics. First, the ocean is unpredictable. This means every wave brings a new chance for an incredible photo but also challenges. Understanding the ocean's moods and the best lighting is essential. Early mornings or late afternoons offer the best light for that mesmerizing glow on the water. Next, gear matters but doesn't get bogged down in technicalities. A good camera and a willingness to get a bit wet are your basic needs. Remember, capturing the ocean's beauty is about feeling the moment and letting the waves tell their story through your lens. Dive in, explore different angles, and let the waves surprise you.
Best Time of Day for Wave Photography
The magic in wave photography? It's all about timing. Plain and simple, the best time to shoot waves is during the golden hours. That's right after sunrise or just before sunset. Why? Because the light is softer, warmer, and doesn't cast harsh shadows on the water. This light makes the ocean look like it's glowing, bringing out colors and details you won't see midday. Plus, the sun's angle creates dramatic shadows and textures in the waves, giving your photos depth. Remember, early morning is often calmer, with less wind and fewer people to disturb the scene. Evening sessions can surprise you with vibrant sunset hues bouncing off the waves. So, set your alarm early or plan for an evening shoot. Catching waves in the golden hours is a game changer for that magical shot.
Understanding the Equipment Needed for Capturing Waves
To capture the magic of ocean waves, you need the right gear. A sturdy tripod is essential to keep your camera stable against the force of the waves and wind. A DSLR or mirrorless camera that allows manual control over settings like shutter speed and aperture gives you the flexibility to capture waves in all their glory. A waterproof camera or a waterproof housing for your camera is crucial if you plan on getting close to the action without risking damage. Lenses matter too—wide-angle lenses help capture the vastness of the ocean, while a telephoto lens can zoom in on distant waves. Lastly, don’t forget a cleaning kit to keep salt spray off your lens and camera body. Remember, having the right equipment is half the battle in wave photography.
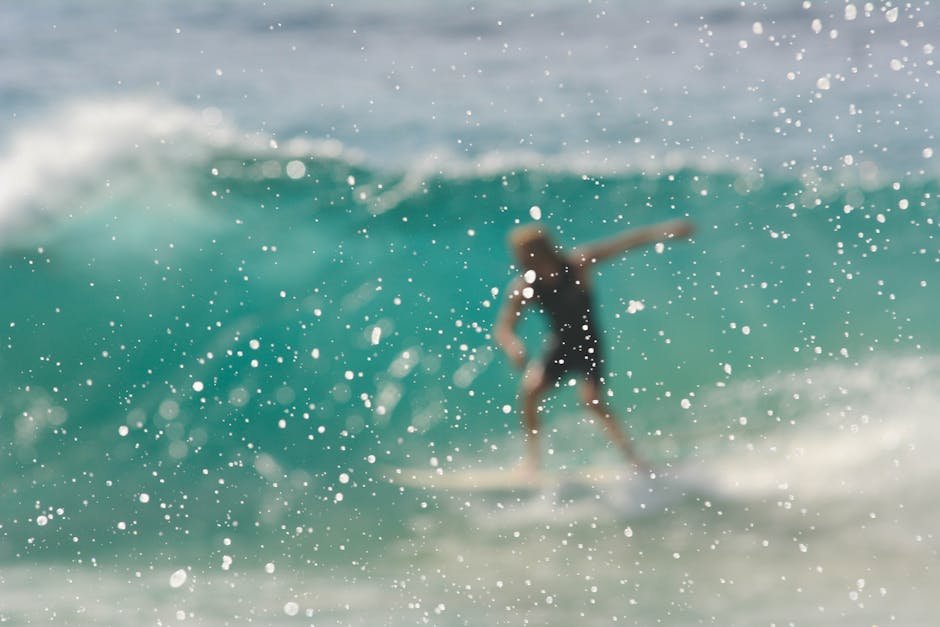
Tips for the Perfect Wave Composition
To nail the perfect wave composition, you need to think about three things: timing, position, and camera settings. First off, timing is everything. You have to catch waves at the right moment to capture their true essence. This means being patient and attentive; waves have a rhythm, and you'll start to notice patterns. Position yourself at a spot where you can safely get a good view of the waves. Sometimes, this means getting your feet wet or finding a high vantage point. Lastly, tweak your camera settings. Generally, a fast shutter speed will freeze the motion of the wave, capturing every detail. But playing with slower shutter speeds can create a smooth, dreamy look to the water. Experiment to see what works best for the kind of mood you're trying to convey. Remember, the best wave photos are a blend of preparation and spontaneity.
Mastering the Art of High-Speed Shutter Techniques
To nail those stunning ocean wave shots, you've got to master high-speed shutter techniques. This lets you freeze the action of the waves, capturing every splash and droplet in crystal clear detail. You want your camera settings dialed to a high shutter speed. Think in the range of 1/1000th of a second or faster. This fast snap means you catch the wave at just the right moment, making it look like it's frozen in time. Remember, a fast shutter speed demands good lighting. Early mornings or late afternoons, when the sun casts golden hues over the water, are prime times. If the light's low, bump up your ISO a bit. Just keep it as low as possible to avoid grainy shots. Play with angles too. Get down low or shoot from above. This isn't just about speed. It's about seeing the ocean in a way most people miss. Start experimenting, and soon, you'll snag those breathtaking, dynamic wave photos that everyone admires.
Working with Natural Light and Weather Conditions
Capturing the ocean’s magic is all about timing and embracing the elements. Natural light plays a huge part in wave photography. Early morning or late afternoon, when the sun is low, gives you soft, warm light that can make your photos come alive. This is what we call the golden hour. It adds a magical touch to the waves, creating textures and shadows that add depth to your shots.
Weather conditions can also make or break your ocean shots. Overcast days might seem dull, but they provide even light and help capture the true colors of the sea without harsh shadows. Plus, storms can lead to dramatic wave action. The key is to watch the weather closely and be prepared to snap shots before, during, and after a storm (always safely, of course).
Remember, working with what nature offers rather than against it can turn your wave photography from good to breathtaking. Keep an eye on the light, the cloud cover, and even the wind direction. Each element can add a unique mood to your ocean captures, making your photos stand out.
The Importance of Patience and Timing in Wave Photography
Patience is not just a virtue; it's your secret weapon in wave photography. The ocean is unpredictable. One minute it's calm, the next it's a tempest of perfect waves. This unpredictability means you can’t rush. Wait for the right moment. Sometimes, this means hours for that perfect wave to crash or for the lighting to cast its magic on the water. Timing is equally crucial. It's all about catching waves at just the right second to showcase their power and beauty. Early morning or late afternoon, known as the golden hours, can provide the best natural lighting. The difference a second can make in wave photography is staggering. A fraction too early or too late, and you miss the drama. Together, patience and timing let you capture the ocean's magic like never before. So, breathe in the sea air, wait, and click at the precise moment.
Safety Considerations When Photographing Waves
When you're out there aiming to capture the ocean's magic, safety should never take a backseat. First off, always keep an eye on the weather. Sudden changes can spell disaster if you're not prepared. Stick to known spots, especially ones familiar to locals or recommended by fellow photographers. These places are usually safer and provide better opportunities for stunning shots. Next up, don't turn your back on the ocean. Rogue waves can appear out of nowhere. Stay vigilant. Remember your gear too. Waterproof it as much as possible because saltwater and electronics don’t mix. Finally, know your limits. It’s easy to get caught up in the chase for the perfect shot, but your safety is more valuable than any photo. Stick to these guidelines, and you’ll stand a better chance of taking home incredible wave photography without risking your neck.
Editing Your Wave Photos for Maximum Impact
Editing your wave photos is like the final, crucial seasoning that can turn a good dish into a great one. It's where you bring out the best in your shots, making sure each wave's unique beauty shines through. Start by adjusting the brightness and contrast to make the wave pop against the background. Boost saturation slightly to make the colors more vivid but avoid going overboard; you want the blues to look inviting, not artificial. Sharpening is your friend to highlight the intricate details of the water, but again, moderation is key; too much can make the photo look harsh. Lastly, don't forget to play with the cropping tool. Sometimes, a tighter frame can transform a decent photo into a striking composition that captures the viewer's attention. Remember, the goal is to enhance, not to overwhelm. The ocean's natural beauty should always be the star of the show.
Conclusion: Creating a Lasting Impression with Your Wave Photography
So, you've journeyed with us through the highs and lows of wave photography, learning tips and tricks to capture the ocean's might, mood, and majesty. Remember, it's not just about snapping shots but creating art that echoes the ocean's soul. Your lens is a window to the sea's heart, and with patience, practice, and passion, you'll craft images that not only impress but also inspire. Keep experimenting with angles, timing, and settings to find what brings out the best in your wave photos. And most importantly, let your love for the sea shine through your work. Your unique perspective is what will set your photos apart, turning them from mere pictures into lasting impressions. Wave photography is a journey — keep pushing the limits, and you'll continue to discover the ocean's boundless beauty.