
Don't Get Caught with Sand Between Your O-Rings!
Here is My Waterproof Housing Preparation Shoot List:
1.Check the housing for any signs of damage or wear, such as cracks or leaks.
There is nothing more demoralizing than getting out into the water for a shoot, only to find that your camera housing has been infiltrated by the ocean. I’ve had several types of housings and in-water camera gear over the years, and I’ve learned this lesson the hard way (RIP to the 3 Nikonos V cameras I’ve owned.) Before you decide to just slip your very expensive piece of documentarian equipment into another (very likely) expensive piece of aquatic equipment, regularly inspect your gear for damage. In my case, I always check the points of failure—seams, screws, and seals—checking for signs of significant wear and cracks where water could leak in. When in doubt, test it out—more on that below.
2. Clean the housing thoroughly!
Sometimes we get lazy or maybe we are in a rush after a session to get to the car, open your work laptop, and make it to that early morning huddle. Cleanliness is godliness, so treat your gear with care or incur the wrath of Poseidon. You’ll need access to cold, fresh water after a dive or session—so stay prepared. I like to keep a wet-dry bag in my trunk that I can quickly fill with cold water and submerge my camera until I get home to do a more thorough cleaning. If you have access to a beach shower, take the time to rinse your gear thoroughly. Once you find a moment to break down your housing, make sure you do so on a clean surface that is free of grit and grime. Don’t forget the lenses/lens ports and buttons! Most importantly, only use a microfiber cloth and a mild cleaning solution. When everything has been wiped down, ensure the housing and all parts are dry before storage.
3. Check the o-ring seals and make sure they are in good condition and properly lubricated.
It only takes a small amount of grit, a stray hair, or a few grains of sand to turn a dry housing into a flooded nightmare. Before and after your in-water session, inspect the o-ring of your housing for any signs of damage or wear. With clean hands, feel around the grooves for any debris or dirt. Use a clean, dry cloth or a soft-bristled brush to remove any debris or dirt. If your o-ring feels gritty or loses its elasticity, it’s prudent to replace it—a brittle or hard o-ring could be a point of failure. After inspecting the o-ring and reinstalling it to the housing/grooves, lightly apply your silicon lubricant—remember that less is more. It shouldn’t be drowning but visibly greased.
4. Attach the camera to the housing, ensuring a tight and secure fit.
This is a different process for most housings. But as mentioned, having a clean work surface and properly inspected housing will be your first course of action. Most housings have brackets or guides for you to slide the camera into place—make sure they are free of dust and debris, and be sure to double-check (triple-check) that any buttons/attachments / and external access points are uninhibited from the same. There are plenty of times I’ve strapped on my fins and swam to a point only to discover that my ISO button or review buttons were either stuck or blocked by a loose anchor point. Prevent this by diligently checking any potential points of failure once you’ve inserted your camera.
5. Test the housing by submerging it in a bucket of water or by using a test spray to check for leaks.
I wish I could say that I do this every single time…but that isn’t always the case. When conditions are good and you just wanna get to shooting, your priority changes. However, you should make it a priority to at least regularly test the housing. Just because you had a successful (Read: Your housing didn’t flood) session, doesn’t mean that you’ve prevented the chance of a leak. If you don’t have time to submerge your housing in the water, keep a spray bottle handy. Soak the points of failure—buttons, hatch enclosures, screw points—anywhere that might expose your camera to a salty bubble bath. If bubbles form around those points, you should inspect them. Bubbles might indicate that your housing isn’t airtight. For most housings, this is a no-go.
6. If using a dome port, check the dome for scratches or damage and make sure it is properly attached to the housing.
The saltwater is great for exfoliating, but the same abrasive qualities of the ocean will do damage to glass or plexiglass elements over time. I like to keep my dome ports and flat ports behind foam or soft clothes 99% of the time. The rest of the care process will be regular maintenance and inspection. There are solvents that you can use to lightly remove scratches, but this element will need to be replaced at some point.
7. Make sure the housing is properly closed and locked before the shoot.
Ok—no brainer, right? My current housing has hatch that needs to be screwed in, so I’m not likely to forget…For those of you with latch style enclosers—the same level of diligence applies. Trust that your latch points will fail and use that as a basis to regularly make inspections.
8. Bring spare O-rings, lubricant, and a toolkit for O-ring replacement if necessary. Always check the housing and O-ring before each dive or immersion, even if the housing has been used recently.
Redundancy is the key to being prepared—so just have backups for your backups and spare parts for your spares. Chances are, if you’ve already made the decision to put an expensive piece of camera equipment in the water, that you’ll now go to any lengths to ensure its proper functionality (Read: You’ll buy lots of accessories.) No harm in having more parts than you need, but you’ll be kicking sand the next time you go for a shoot only to find that your O-ring is dried out.
9. Take note of the max depth of the housing and don't exceed it.
Hopefully, the depth rating from your company is tested and advertised appropriately. (Those little plastic bags off Amazon—don’t put your camera in there.)
10. Keep the housing in a dry and cool place when not in use.
Proper storage is key! After lots of fresh, cold, clean water—ensure that your housing is dry before storing it away. I recommend a waterproof/water-sealed case with lots of foam.
*Always be aware of your surroundings and the safety of yourself and others when using waterproof housing.
So you are ready to jump in! Got your fins on (and wetsuit for those of us in colder water), and you’ve successfully prepared your gear. Stoke is high, maybe the lighting is just right for the break and the conditions are well…firing. HOLD ON! Just like the surfers and divers you aim to shoot, safety should still be your number one priority. Be aware of your surroundings—the ocean is fickle and conditions can change at any moment. Learn as much about where the surf breaks and where people line up—you don’t wanna be the kook who ruins someone’s line.
————
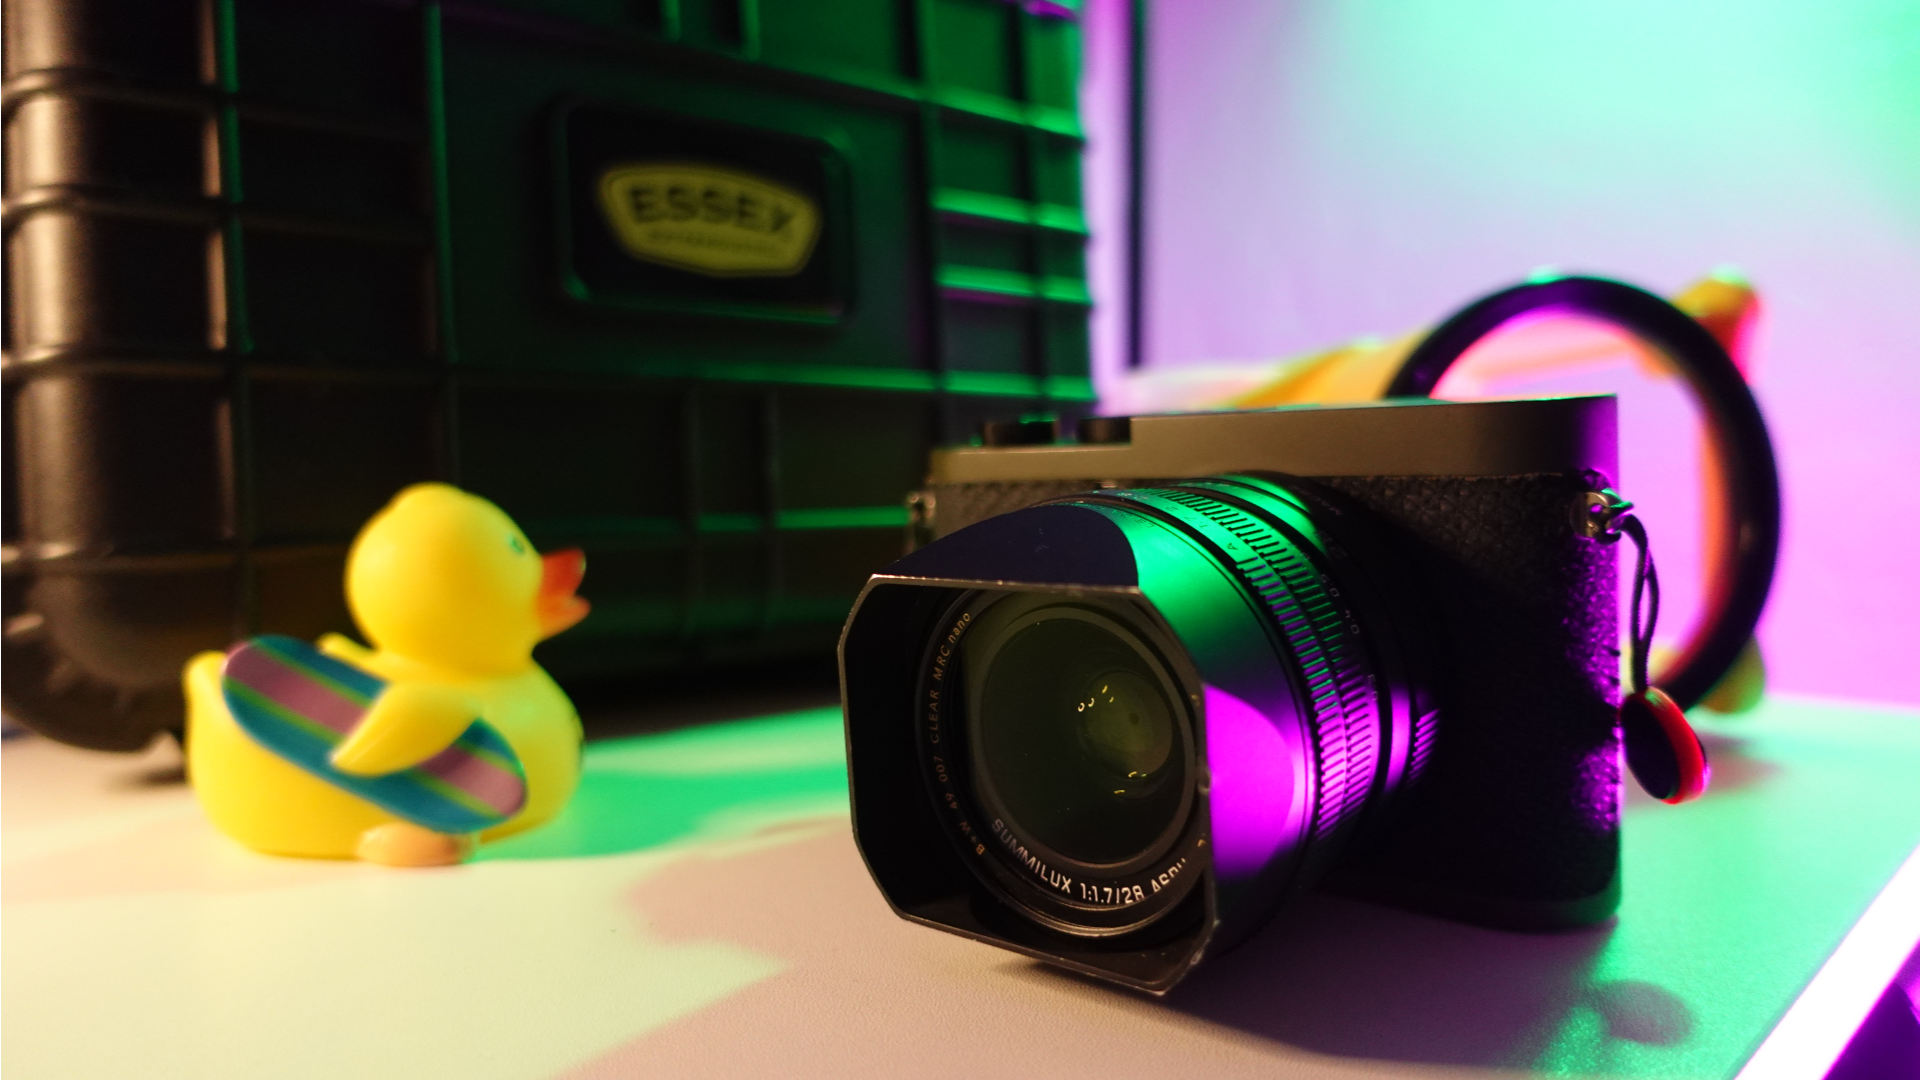
For more about the housing I use, check out Essex Waterhousings. I use the model that is made for my Leica Q2 [Reporter]