
All press is good press
I am elated again to share another feature and write-up about my work—this time, from a more local publication to the community that I currently call my home city.
SD Voyager was kind enough to reach out and learn about my creative journey. Read more about it here: http://sdvoyager.com/interview/daily-inspiration-meet-phillip-hernandez/
As part of their interview process, in hopes of discovering inspirational figures of our network, SD Voyager also seeks out referrals and nominations to be interviewed. I like to think that the best creative temperaments tend to seek each other out—it is instinct. I’ve got a portfolio of friends and creatives to choose from that keep me motivated. So since you’ll already have eyes on SD Voyager, be sure to check out their conversation with Steve White, as well. More well-deserved press for the Beers and Cameras family!
http://sdvoyager.com/interview/conversations-with-steve-white/
Featured on COOPH
I’ve been reflecting a fair amount lately, and I’m filled with gratitude and excitement. I want to take this moment to reflect on my journey as an ocean documentarian and express my deep appreciation for the recent opportunity to be featured by renowned camera accessory brand, COOPH. A small but very welcomed win for me in my book as I navigate the lines between business and creativity. (ARTICLE BELOW)
How did this happen?
If you follow my Instagram @philliphernandez, you’ll have seen that I recently spent some time in the South Pacific—mostly to celebrate some milestones and enjoy my birthday. (Not to surf.) My wife and I were only two days into our nearly 10-day trip, and libations are always at arms reach at our type of resort. I was sipping a bespoke frozen banana cocktail—thank you Likuliku for making me feel like a prince—and staring across the infinity pool towards an island that completes the lagoon for which our resort was situated. The perspiration from my beverage moistened the pages of my copy of 32.2 The Surfer’s Journal, so I decided to give my quality reading session a break…in exchange for a sweet sweet dopamine hit that only my phone could deliver. A quick scroll through the gram to post a story of my cocktail, and I was quickly removed from my paradise surroundings—shameful, I know. Naturally, I had to dive into my email to ensure that I wouldn’t return to a flood of unanswered potted meat—it was mostly spam. There was a name I didn’t quite recognize next to an accessory brand that I had recently interacted with—Juan Martinez (@BeersandCameras) and Marcus Yam visited my home studio not more than a few weeks prior to my travel, to film a quick unboxing for COOPH straps and talk Leica shop over Negronis. Rowynn Dumont had sent me an email with the subject line “COOPH INTERVIEW”. In my head, I thought he must have made a mistake. Surely, they meant to contact Beers and Cameras and talk more about their merchandise or the potential to produce more reels. After thumbing through the ask, I was elated beyond measure, throwing my sunglasses off, and yelling to my wife, “BABE! COOPH wants to do an interview!” It felt like all the late nights and early mornings spent honing my craft had culminated in this extraordinary opportunity. To have my images displayed alongside top-notch camera equipment and accessories was not only an acknowledgment of my dedication but also an invitation to share my passion with a wider audience.
One of the most rewarding aspects of this journey has been the opportunity to inspire others. I hope my journey as an ocean documentarian can be a beacon of encouragement to aspiring photographers and artists, urging them to pursue their dreams fearlessly (recklessly).
I want to extend my deepest gratitude to everyone who has been a part of my journey – my family, friends, fellow photographers, and the entire surf community. As for the recognition and presence offered by COOPH, thank you for recognizing the essence of my surf photography and for giving me a platform to showcase my work to the world. This collaboration is more than just a feature; it's a celebration of the love we share for the ocean and the magic of surf photography.
As I continue to ride the waves of creativity and explore the depths of my passion, I am filled with excitement for what lies ahead. My camera will forever be my trusted companion, and through its lens, I will continue to capture the beauty, power, and soul-stirring spirit of the ocean.
CAPTURING THE ESSENCE OF SURF PHOTOGRAPHY: INSIGHTS FROM AN OCEAN DOCUMENTARIAN via COOPH
The Art of Surf Photography in San DIego
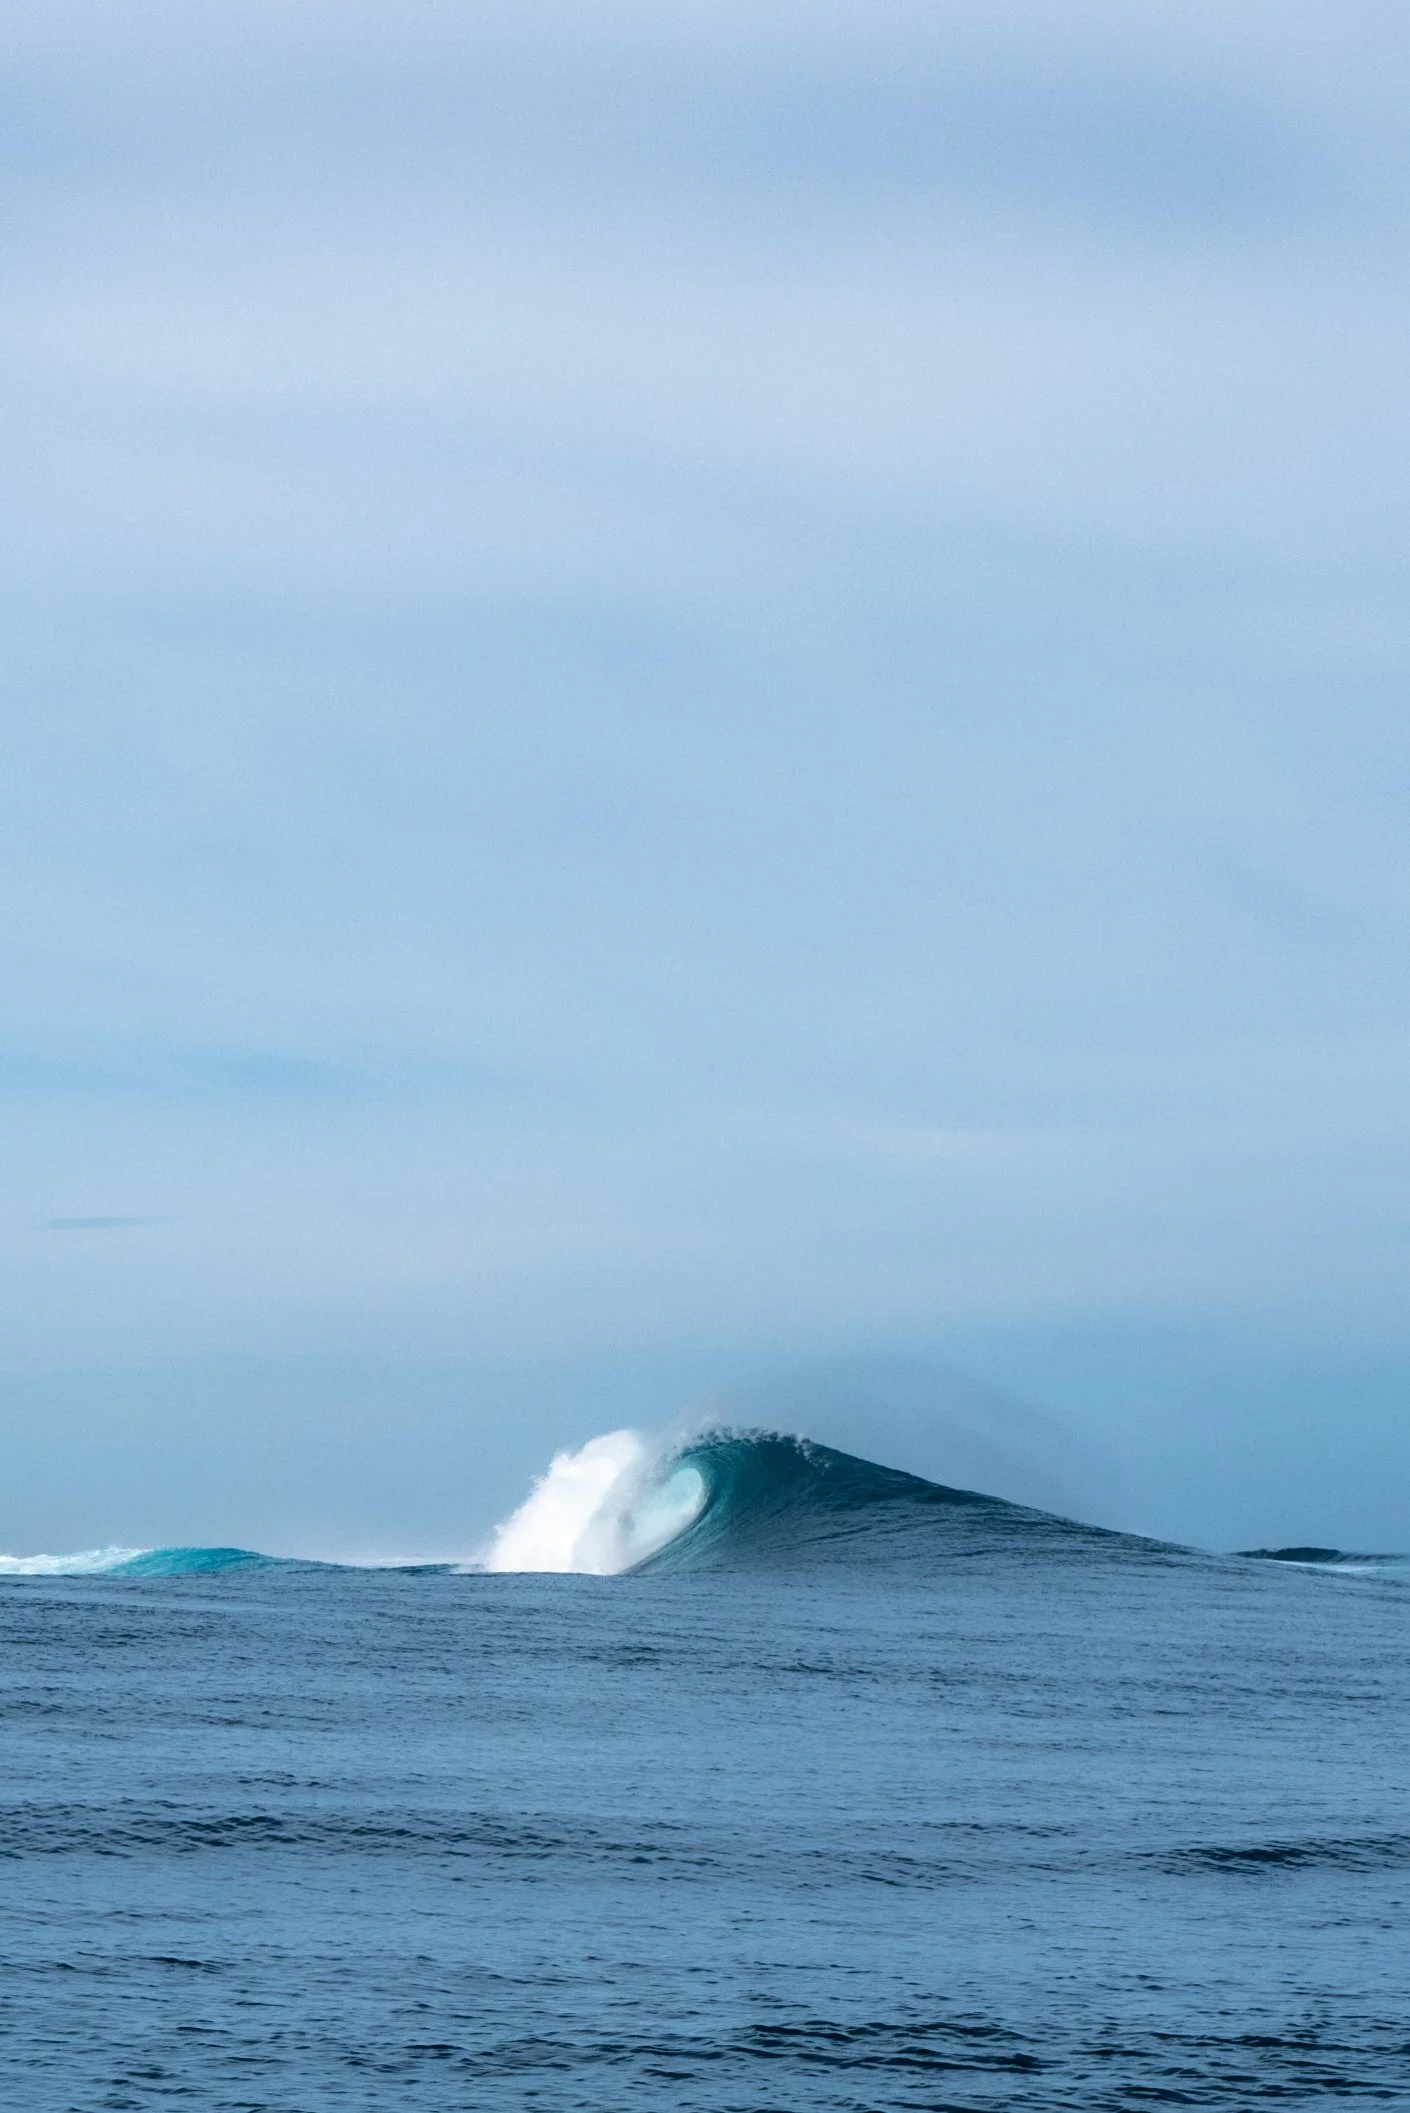
It was an odd feeling. I’ve experienced sunsets all around the world, but in 2017, something clicked in my mind as I watched the sun setting behind the pier at Ocean Beach, San Diego. Waves crashed against the shore, and I envisioned the lives of the surfers that rode them. It’s a beautiful sight to behold and an even more wonderful experience to try and capture. This is what surf photography in San Diego is all about – capturing the beauty of the ocean, its waves, and its aquatic activities. Whether you are a professional photographer or someone who just wants to take amazing photos for personal use, here’s why you should consider exploring surf photography in San Diego and how this craft has changed my life—will definitely address this more in future posts.
Sports Photography at its Finest
Surf photography has become one of the most popular sports photography disciplines and it’s easy to see why. Surfing offers a unique combination of action and beauty that allows photographers to capture some truly stunning shots—of nature and the enthusiasts who aim to integrate into their lives. From aerial shots taken from drones to underwater photos utilizing special equipment, there are so many different ways that photographers can express their creative vision when shooting. I chose San Diego because of the seemingly endless stretches of surf breaks, supportive and tightly knit community, and opportunity to practice this craft regularly.
A Perfect Getaway
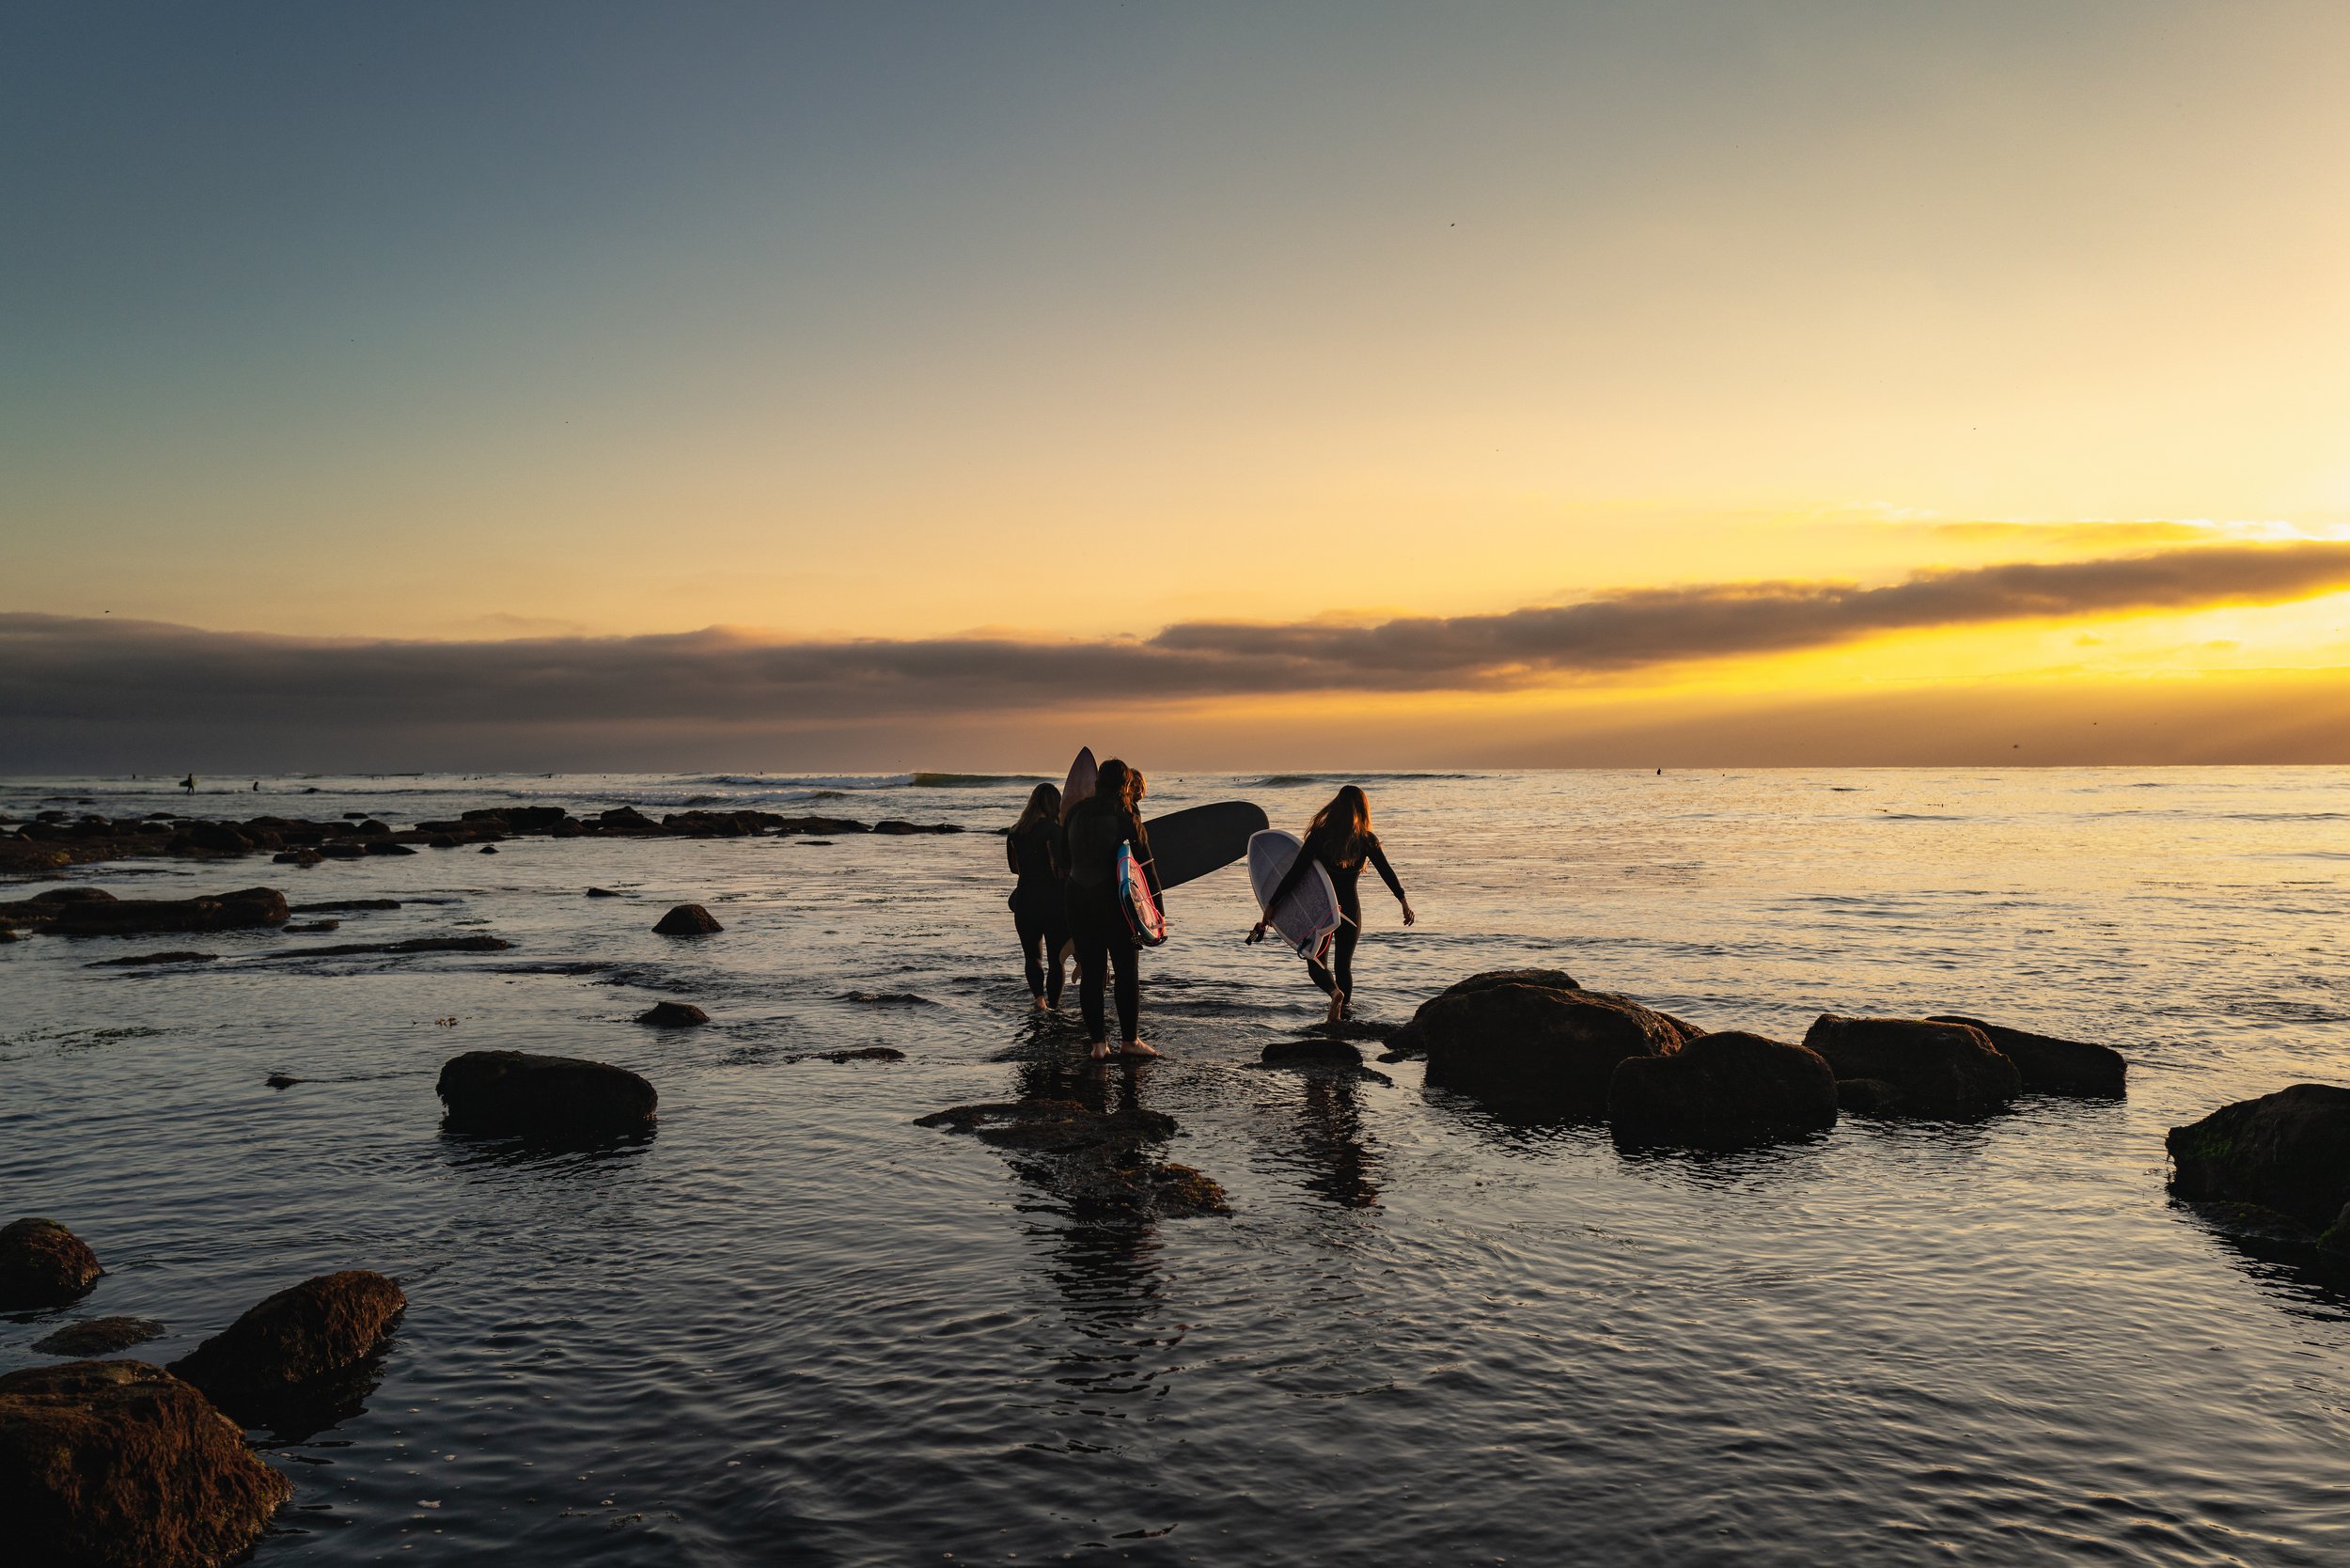
San Diego is known for its beautiful beaches and great surfing spots, making it an ideal destination for surf photographers like myself and around the world. With over 60 miles of coastline, plenty of beaches have conditions perfect for surfers and photographers alike. Something unique about shooting photos near water is that it can be calming yet full of energy all at once! Plus, you get to experience some breathtaking sunsets, sunrises, and moonsets while capturing some incredible shots — I’ve also made quite a few incredible and talented friends along the way.
The Benefits of Working with Professional Photographers
If you want to get serious about your surf photography game in San Diego, then it might be worth considering working with a professional photographer who specializes in this field. Professional photographers like myself, offer a wealth of knowledge and experience that can help you get better results from your shoots and can directly affect your surfing. We know how best to capture different angles from above or below water level and also have access to specialized equipment such as waterproof cameras and underwater housings that can make your photos stand out from the rest. Working with professionals will also give you more time to focus on improving your technique so that you can take even better shots next time!
Surf photography in San Diego is an activity that combines both artistry and athleticism into one exciting package. Shooting in this environment provides endless opportunities for creativity while allowing photographers to experience some spectacular sights along the way. Whether you are looking for a fun weekend activity or want to take up this discipline professionally, there is something incredibly rewarding about capturing these moments by the sea! So grab your camera (or consider hiring me or my friends) and hit the beach!
Don't Get Caught with Sand Between Your O-Rings!
Here is My Waterproof Housing Preparation Shoot List:
1.Check the housing for any signs of damage or wear, such as cracks or leaks.
There is nothing more demoralizing than getting out into the water for a shoot, only to find that your camera housing has been infiltrated by the ocean. I’ve had several types of housings and in-water camera gear over the years, and I’ve learned this lesson the hard way (RIP to the 3 Nikonos V cameras I’ve owned.) Before you decide to just slip your very expensive piece of documentarian equipment into another (very likely) expensive piece of aquatic equipment, regularly inspect your gear for damage. In my case, I always check the points of failure—seams, screws, and seals—checking for signs of significant wear and cracks where water could leak in. When in doubt, test it out—more on that below.
2. Clean the housing thoroughly!
Sometimes we get lazy or maybe we are in a rush after a session to get to the car, open your work laptop, and make it to that early morning huddle. Cleanliness is godliness, so treat your gear with care or incur the wrath of Poseidon. You’ll need access to cold, fresh water after a dive or session—so stay prepared. I like to keep a wet-dry bag in my trunk that I can quickly fill with cold water and submerge my camera until I get home to do a more thorough cleaning. If you have access to a beach shower, take the time to rinse your gear thoroughly. Once you find a moment to break down your housing, make sure you do so on a clean surface that is free of grit and grime. Don’t forget the lenses/lens ports and buttons! Most importantly, only use a microfiber cloth and a mild cleaning solution. When everything has been wiped down, ensure the housing and all parts are dry before storage.
3. Check the o-ring seals and make sure they are in good condition and properly lubricated.
It only takes a small amount of grit, a stray hair, or a few grains of sand to turn a dry housing into a flooded nightmare. Before and after your in-water session, inspect the o-ring of your housing for any signs of damage or wear. With clean hands, feel around the grooves for any debris or dirt. Use a clean, dry cloth or a soft-bristled brush to remove any debris or dirt. If your o-ring feels gritty or loses its elasticity, it’s prudent to replace it—a brittle or hard o-ring could be a point of failure. After inspecting the o-ring and reinstalling it to the housing/grooves, lightly apply your silicon lubricant—remember that less is more. It shouldn’t be drowning but visibly greased.
4. Attach the camera to the housing, ensuring a tight and secure fit.
This is a different process for most housings. But as mentioned, having a clean work surface and properly inspected housing will be your first course of action. Most housings have brackets or guides for you to slide the camera into place—make sure they are free of dust and debris, and be sure to double-check (triple-check) that any buttons/attachments / and external access points are uninhibited from the same. There are plenty of times I’ve strapped on my fins and swam to a point only to discover that my ISO button or review buttons were either stuck or blocked by a loose anchor point. Prevent this by diligently checking any potential points of failure once you’ve inserted your camera.
5. Test the housing by submerging it in a bucket of water or by using a test spray to check for leaks.
I wish I could say that I do this every single time…but that isn’t always the case. When conditions are good and you just wanna get to shooting, your priority changes. However, you should make it a priority to at least regularly test the housing. Just because you had a successful (Read: Your housing didn’t flood) session, doesn’t mean that you’ve prevented the chance of a leak. If you don’t have time to submerge your housing in the water, keep a spray bottle handy. Soak the points of failure—buttons, hatch enclosures, screw points—anywhere that might expose your camera to a salty bubble bath. If bubbles form around those points, you should inspect them. Bubbles might indicate that your housing isn’t airtight. For most housings, this is a no-go.
6. If using a dome port, check the dome for scratches or damage and make sure it is properly attached to the housing.
The saltwater is great for exfoliating, but the same abrasive qualities of the ocean will do damage to glass or plexiglass elements over time. I like to keep my dome ports and flat ports behind foam or soft clothes 99% of the time. The rest of the care process will be regular maintenance and inspection. There are solvents that you can use to lightly remove scratches, but this element will need to be replaced at some point.
7. Make sure the housing is properly closed and locked before the shoot.
Ok—no brainer, right? My current housing has hatch that needs to be screwed in, so I’m not likely to forget…For those of you with latch style enclosers—the same level of diligence applies. Trust that your latch points will fail and use that as a basis to regularly make inspections.
8. Bring spare O-rings, lubricant, and a toolkit for O-ring replacement if necessary. Always check the housing and O-ring before each dive or immersion, even if the housing has been used recently.
Redundancy is the key to being prepared—so just have backups for your backups and spare parts for your spares. Chances are, if you’ve already made the decision to put an expensive piece of camera equipment in the water, that you’ll now go to any lengths to ensure its proper functionality (Read: You’ll buy lots of accessories.) No harm in having more parts than you need, but you’ll be kicking sand the next time you go for a shoot only to find that your O-ring is dried out.
9. Take note of the max depth of the housing and don't exceed it.
Hopefully, the depth rating from your company is tested and advertised appropriately. (Those little plastic bags off Amazon—don’t put your camera in there.)
10. Keep the housing in a dry and cool place when not in use.
Proper storage is key! After lots of fresh, cold, clean water—ensure that your housing is dry before storing it away. I recommend a waterproof/water-sealed case with lots of foam.
*Always be aware of your surroundings and the safety of yourself and others when using waterproof housing.
So you are ready to jump in! Got your fins on (and wetsuit for those of us in colder water), and you’ve successfully prepared your gear. Stoke is high, maybe the lighting is just right for the break and the conditions are well…firing. HOLD ON! Just like the surfers and divers you aim to shoot, safety should still be your number one priority. Be aware of your surroundings—the ocean is fickle and conditions can change at any moment. Learn as much about where the surf breaks and where people line up—you don’t wanna be the kook who ruins someone’s line.
————
For more about the housing I use, check out Essex Waterhousings. I use the model that is made for my Leica Q2 [Reporter]